
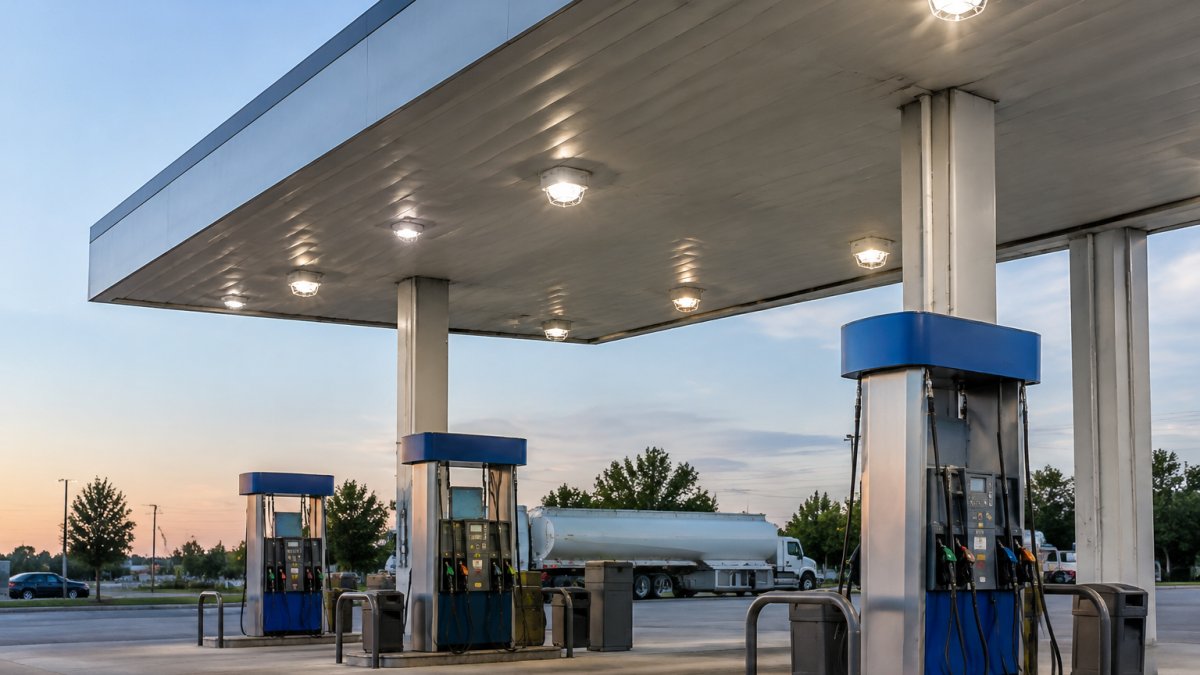
Quick Summary
Choose explosion proof lighting for fuel stations by first getting a written hazardous-area classification for each zone, then buying only fixtures whose rating label matches that zone. Check the class and division or zone, gas group, temperature class, and certification mark before comparing price. Standard fixtures can ignite gasoline vapor, so a rated fixture is required in classified areas.
- Get a written site classification before selecting any fixture; it drives every rating decision.
- Match each fixture’s class, division or zone rating exactly to its classified area.
- A Division 1 fixture can serve a Division 2 location, but not the reverse.
- Confirm the gas group covers gasoline vapor and that the temperature class suits the vapors present.
- Verify the certification mark traces to a testing body listing before ordering.
Table of Contents
- Why Fuel Station Lighting Is a Hazardous-Location Decision
- Fuel Station Hazardous Area Classification: Mapping Your Site
- Hazardous Location Lighting Ratings: Reading the Labels
- Fuel Station Canopy Lighting Requirements
- Step-by-Step Fixture Selection Workflow
- Hazardous Area Lighting Inspection Checklist
- Booking a Hazardous-Location Lighting Assessment for Your Station
- Frequently Asked Questions
Why Fuel Station Lighting Is a Hazardous-Location Decision
Standard light fixtures can spark, arc, or overheat during normal operation.
Lighting is also a daily operating concern. Dim pump areas increase slip, trip, and theft risks, and they make it harder for staff to spot leaks or spills.
Watch out: Installing a fixture rated for a general area in a classified zone is one of the most common and costly mistakes.
Fuel Station Hazardous Area Classification: Mapping Your Site
Before you pick a fixture, you need to know which parts of your site are hazardous. Classification tells you where each fixture can safely operate, and it is the single document that drives every rating decision that follows.
Hazardous-location classification in Canada is governed by the Canadian Electrical Code (CEC), and the local electrical authority and a qualified electrician confirm the classification for your specific site. Classification is site-specific: the same dispenser model can produce a different zone footprint depending on setbacks, vent locations, drainage, and enclosure.
Start by sketching your property and marking these areas:
- Fuel dispenser and pump island footprints
- Underground storage tank fill and vent points
- Canopy underside and the area beneath it
- Convenience store and any enclosed space that connects to fuel areas
- Any car wash, air pump, or service bay nearby
How the Main Station Areas Typically Differ
A practical station-area map separates the site into zones with different risk profiles. The descriptions below are general patterns, not a substitute for a written classification, the applicable classification must be verified against local codes and site conditions.
- Dispenser islands. The dispenser interior and the immediate surrounding area are usually the most restrictive zone because vapor is present during normal fueling. The footprint extends from the dispenser housing outward and is influenced by the dispenser design and any vapor-recovery equipment.
- Vent pipes and tank fill points. Vent openings release vapor under normal pressure changes, so the area near a vent is typically classified, often in a wider radius than the dispenser itself. Fill points add a transient hazard during deliveries.
- Storage tank areas. Underground tanks are usually covered, but the fill and vent hardware above grade is the classified feature. Above-ground tanks and their fittings carry a larger classified footprint.
- Service bays and air pumps. A service bay that handles fuel-system work can be classified, while a general air pump or vacuum island may sit outside the classified area. Do not assume, confirm each.
- Convenience store and public areas. Enclosed retail space is normally unclassified, but any door, trench, or duct that connects to a classified area can extend the hazard. Positive-pressure ventilation and sealed penetrations are common ways to keep the boundary where the classification plan puts it.
Class I, Division 1 and Division 2 Zones Around Dispensers
Class I locations contain flammable gases or vapors. Division 1 means the hazard is present under normal operation, or often enough to be expected. Division 2 means the hazard is present only under abnormal conditions, such as a leak or equipment failure.
Dispenser interiors and the area right around vent openings usually fall into the most restrictive zone. The zone size depends on your equipment and local rules, so get a written classification from a qualified professional.
Crosswalking NEC Class and Division to IEC Zones
Many fixtures are labelled with IEC Zone ratings, while older installations and some inspectors use Class and Division terms. The two systems describe the same risk in different ways.
- Division 1 roughly corresponds to Zone 0 or Zone 1
- Division 2 roughly corresponds to Zone 2
Confirm the exact crosswalk with your inspector. Do not assume a fixture rated for one system automatically meets the other.
Watch out: Treating a sketch or a verbal walkthrough as the classification is a common failure. Without a written classification, the fixture ratings, mounting distances, and wiring methods have no defensible basis, and an inspector can require rework before energizing the system.
Hazardous Location Lighting Ratings: Reading the Labels
Every rated fixture carries a label that tells you what it is approved to do. Learn to read it before you compare prices.
Look for these key markings:
- Class and Division or Zone rating: Must match your site classification
- Gas group: Identifies the vapor types the fixture is tested for, such as gasoline vapor
- Temperature class (T-rating): The maximum surface temperature the fixture can reach
- Ingress protection (IP) rating: Shows resistance to dust and water, such as IP66 or IP67
- Impact rating (IK): Shows resistance to physical damage, such as IK10
- Certification mark: Confirms the fixture was tested by an accredited laboratory
The temperature class matters most in fuel areas. A fixture that runs too hot can ignite vapors on its own surface, even if the housing is sealed.
Fuel Station Canopy Lighting Requirements
Canopy lights are often the brightest fixtures on a fuel station, and they are often the most exposed. Their hazard rating depends on how close they sit to the dispenser and the vent zone.
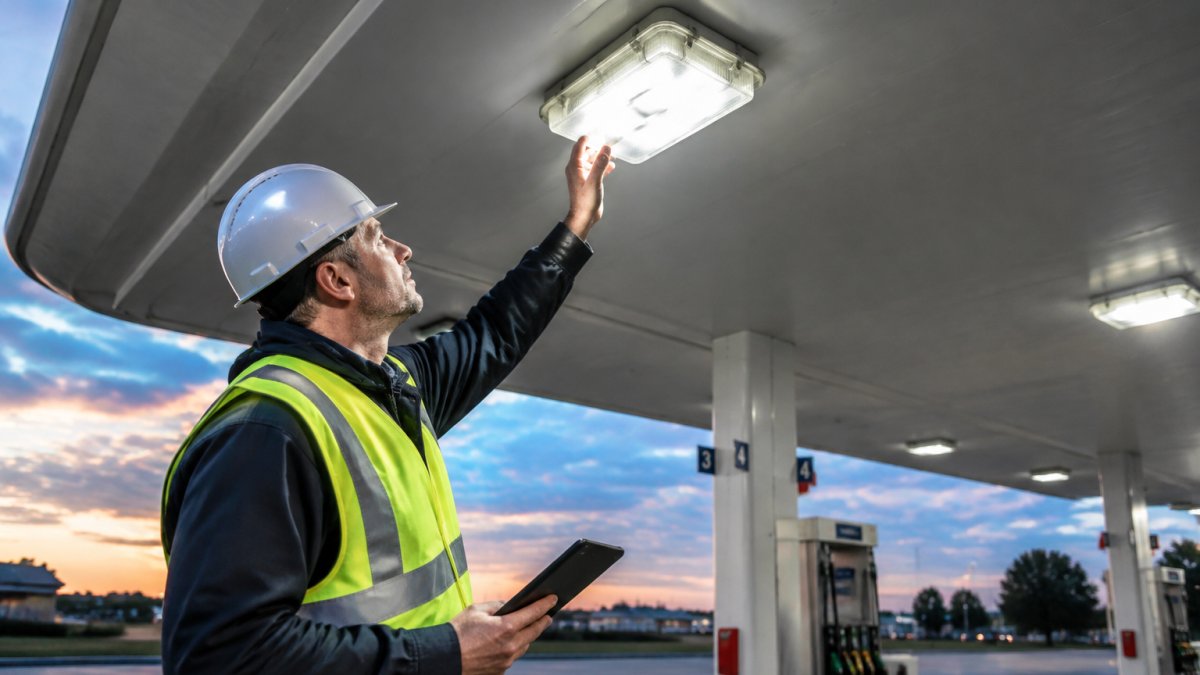
Plan canopy lighting around three points:
- Mounting height and distance from the dispenser and vent openings
- Light output that covers the pump island without creating glare for drivers
- Impact and weather resistance for a fixture that may sit in rain, snow, and wind
LED fixtures are common for canopies because they run cooler and use less power. Confirm that the specific LED model carries the correct hazardous-location rating, since LED does not automatically make a fixture safe for a classified area.
Step-by-Step Fixture Selection Workflow
Use this workflow to narrow your choices and avoid buying a fixture that fails inspection. Each step produces a documented decision you can hand to your electrician and your inspector.
- Classify each area. Mark every zone on your site plan and note its class, division, or zone. Keep the written classification with the project file.
- Match the zone to the fixture rating. Only buy fixtures approved for that exact classification. A Division 1 fixture can serve a Division 2 location, but not the reverse.
- Check the gas group. Gasoline vapor falls into the group that covers most common petroleum fuels. Confirm the fixture’s group letter or number covers the vapors on site, and do not assume a fixture rated for a lighter gas covers gasoline vapor.
- Check the temperature class. The T-rating is the maximum surface temperature the fixture can reach. Compare it against the ignition temperature of the vapors present; a lower T-number is more restrictive. A fixture that runs too hot can ignite vapors on its own surface even if the housing is sealed.
- Confirm the ingress and impact ratings. Choose a higher IP and IK rating for exposed canopy areas. IP66 or IP67 and IK10 are common targets for washdown and impact exposure.
- Plan the light output and optics. Match lumens and beam distribution to the task, pump-island visibility, canopy coverage, and safe walking routes, rather than buying the brightest fixture available.
- Review the certification mark. Verify the mark on the product label and in the listing from the testing body. A mark that cannot be traced to a listing is not evidence of approval.
- Get a written quote. Ask for model numbers and rating labels, then confirm the parts list with your electrician before ordering.
Watch out: Buying the lowest-cost fixture before confirming the rating can lead to rework, failed inspections, and replacement costs that exceed the savings. The rating label, not the price sheet, is the first thing to check.
The workflow’s key checks can be scanned at a glance in the table below.
| Step | What to check | Key point |
|---|---|---|
| Classify each area | Class, division or zone for every zone | Keep the written classification with the project file |
| Match zone to rating | Fixture approved for that exact classification | A Division 1 fixture can serve Division 2, not the reverse |
| Check gas group | Covers vapors on site | Do not assume a lighter-gas rating covers gasoline |
| Check temperature class | Maximum surface temperature vs. vapor ignition temperature | A lower T-number is more restrictive |
| Confirm IP and IK ratings | Exposure of the canopy and washdown areas | IP66 or IP67 and IK10 are common targets |
| Review certification mark | Mark traces to a testing body listing | An untraceable mark is not evidence of approval |
Hazardous Area Lighting Inspection Checklist
Use this list before and after installation to confirm the work is ready for inspection.
- Site classification is documented in writing
- Each fixture’s label matches its zone
- Gas group and temperature class are confirmed
- Seals, glands, and enclosures are intact and undamaged
- Mounting height and distance from vents meet the classification plan
- Wiring methods match the hazardous-location requirements
- Fixtures are tested for proper operation
- Maintenance schedule is set for regular inspection
- Documentation is stored for the next inspector visit
Booking a Hazardous-Location Lighting Assessment for Your Station
Classification, fixture ratings, and canopy design all depend on your specific site. A professional assessment helps you avoid guesswork and keeps your project on track.
Bighorn Electric provides petroleum electrical services for fuel infrastructure. For current service details and scheduling, book a hazardous-location lighting assessment through our website.
For a broader reference before you visit, review electrical safety standards for petroleum facilities to understand what inspectors look for. If you already have fixtures in place and want a professional check, our commercial inspections service can help you confirm their condition.
We recommend starting with a written site classification. It gives every decision that follows a clear, defensible basis.
Last Updated: November 12, 2026
Frequently Asked Questions
Where is explosion-proof lighting needed at a fuel station?
Explosion proof lighting is needed wherever flammable vapours can collect and meet an ignition source. At most fuel stations that means the dispenser and pump island area, the space under the canopy, and sometimes the sales building or storage areas near vent pipes and fill points. Classified zones depend on the equipment and the ventilation at each location, so the area boundaries should be set by a qualified assessor rather than guessed from the layout. Fixtures inside these zones must carry a hazardous-location rating that matches the zone and gas group.
How are hazardous areas classified around fuel pumps and dispensers?
In Canada, hazardous locations are classified under the Canadian Electrical Code, Part I, using Class, Division and Group ratings, or under the IEC Zone system where equipment is certified to it. Dispensers and their immediate surroundings are typically classified as Class I, Division 1 or Division 2, depending on how often flammable vapours are present. Area extents around vents, fill points and dispensers are defined in the code tables, so the classification map for a given station should be documented and kept with the site electrical records.
What hazardous-location rating should fuel station lighting have?
A fixture should be rated for the specific classified area where it is installed, including the Class, Division or Zone and the gas group that applies to gasoline vapours. Its temperature class must also be lower than the auto-ignition temperature of the vapour. Ratings are shown on the fixture nameplate and in the certification listing. Confirm the rating against the site’s classification drawing and the local electrical authority’s requirements before purchase, because a fixture rated for a less hazardous area may not be acceptable.
Can LED lights be used in hazardous locations at fuel stations?
Yes, LED fixtures are available with hazardous-location certification, and they are often preferred because they run cooler, use less power and have long service lives. Certification still matters: an LED fixture that is not listed for the classified area is not acceptable regardless of its efficiency. Look for a listing that covers the exact Class, Division or Zone, gas group and temperature class for the location, and check that the enclosure and ingress ratings suit the exposure at the canopy or pump island.


0 Comments